Physical Modelling
Within our studio we decided that our best course of action for creating a physical model was to work together and create a large scale overall site model, due to the size of the site and the cost. We all met and discussed possible ways of creating our model which would work in a context for everyone. Within the model making process I was actively engaged in the 3D printing process and the placement of all the buildings in the final stages of the project.


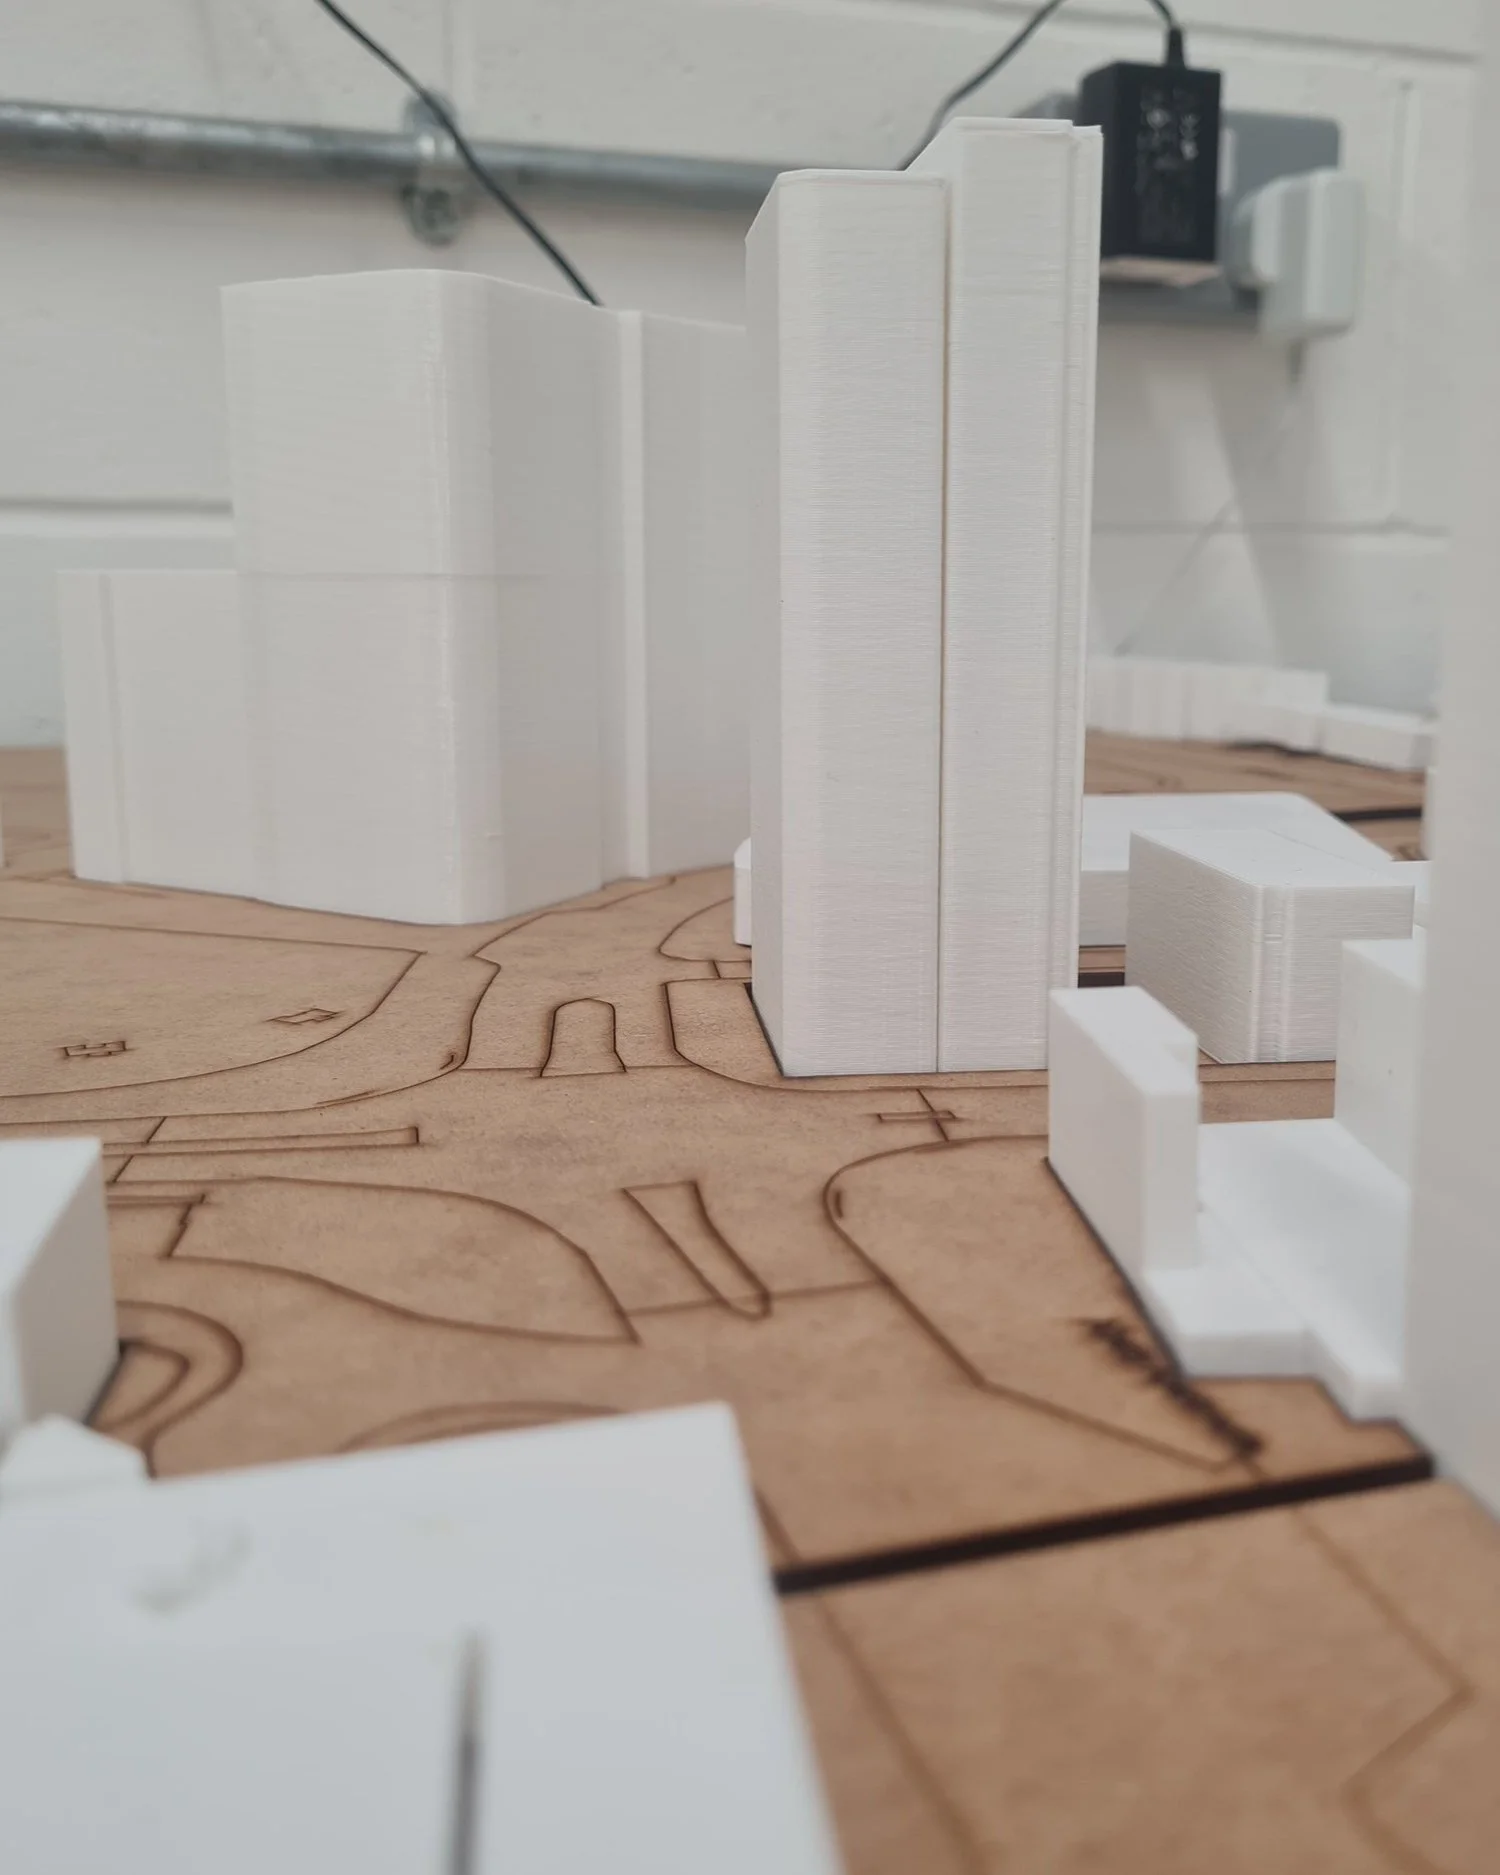
As a studio we decided that 3D printing the individual buildings would be our best option, as it would be easy to mass create models, but it was both cheaper than CNC milling machine, but also created more sturdy models which could be used to create much smaller details.


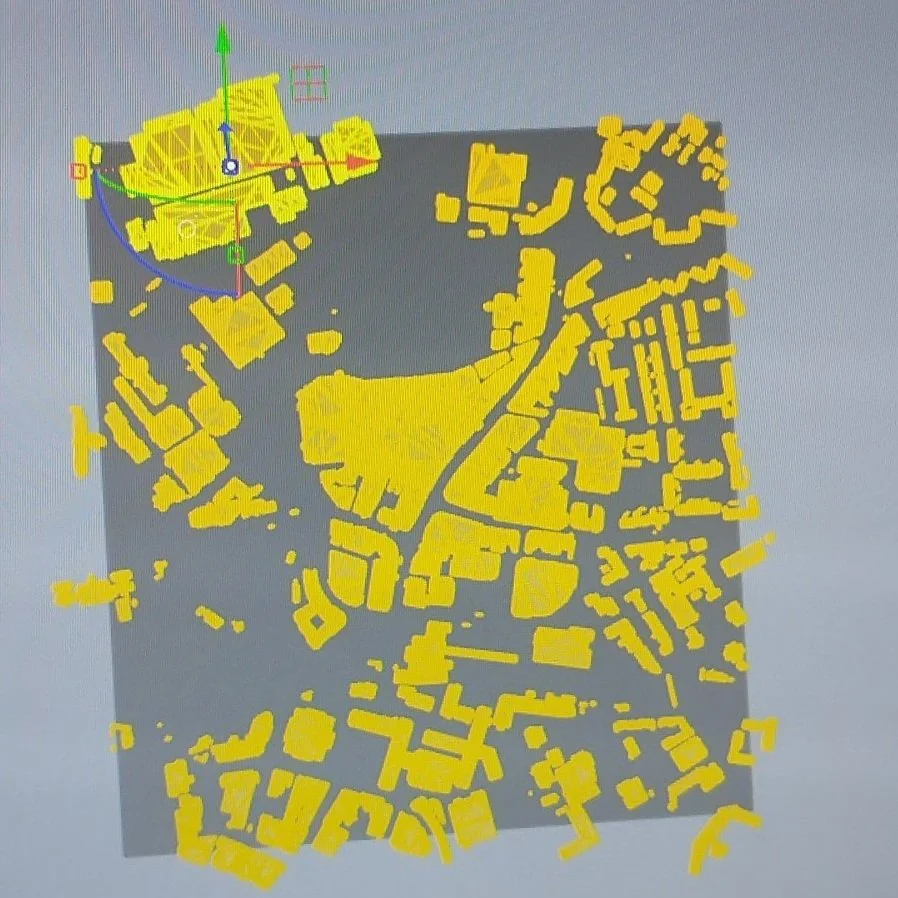
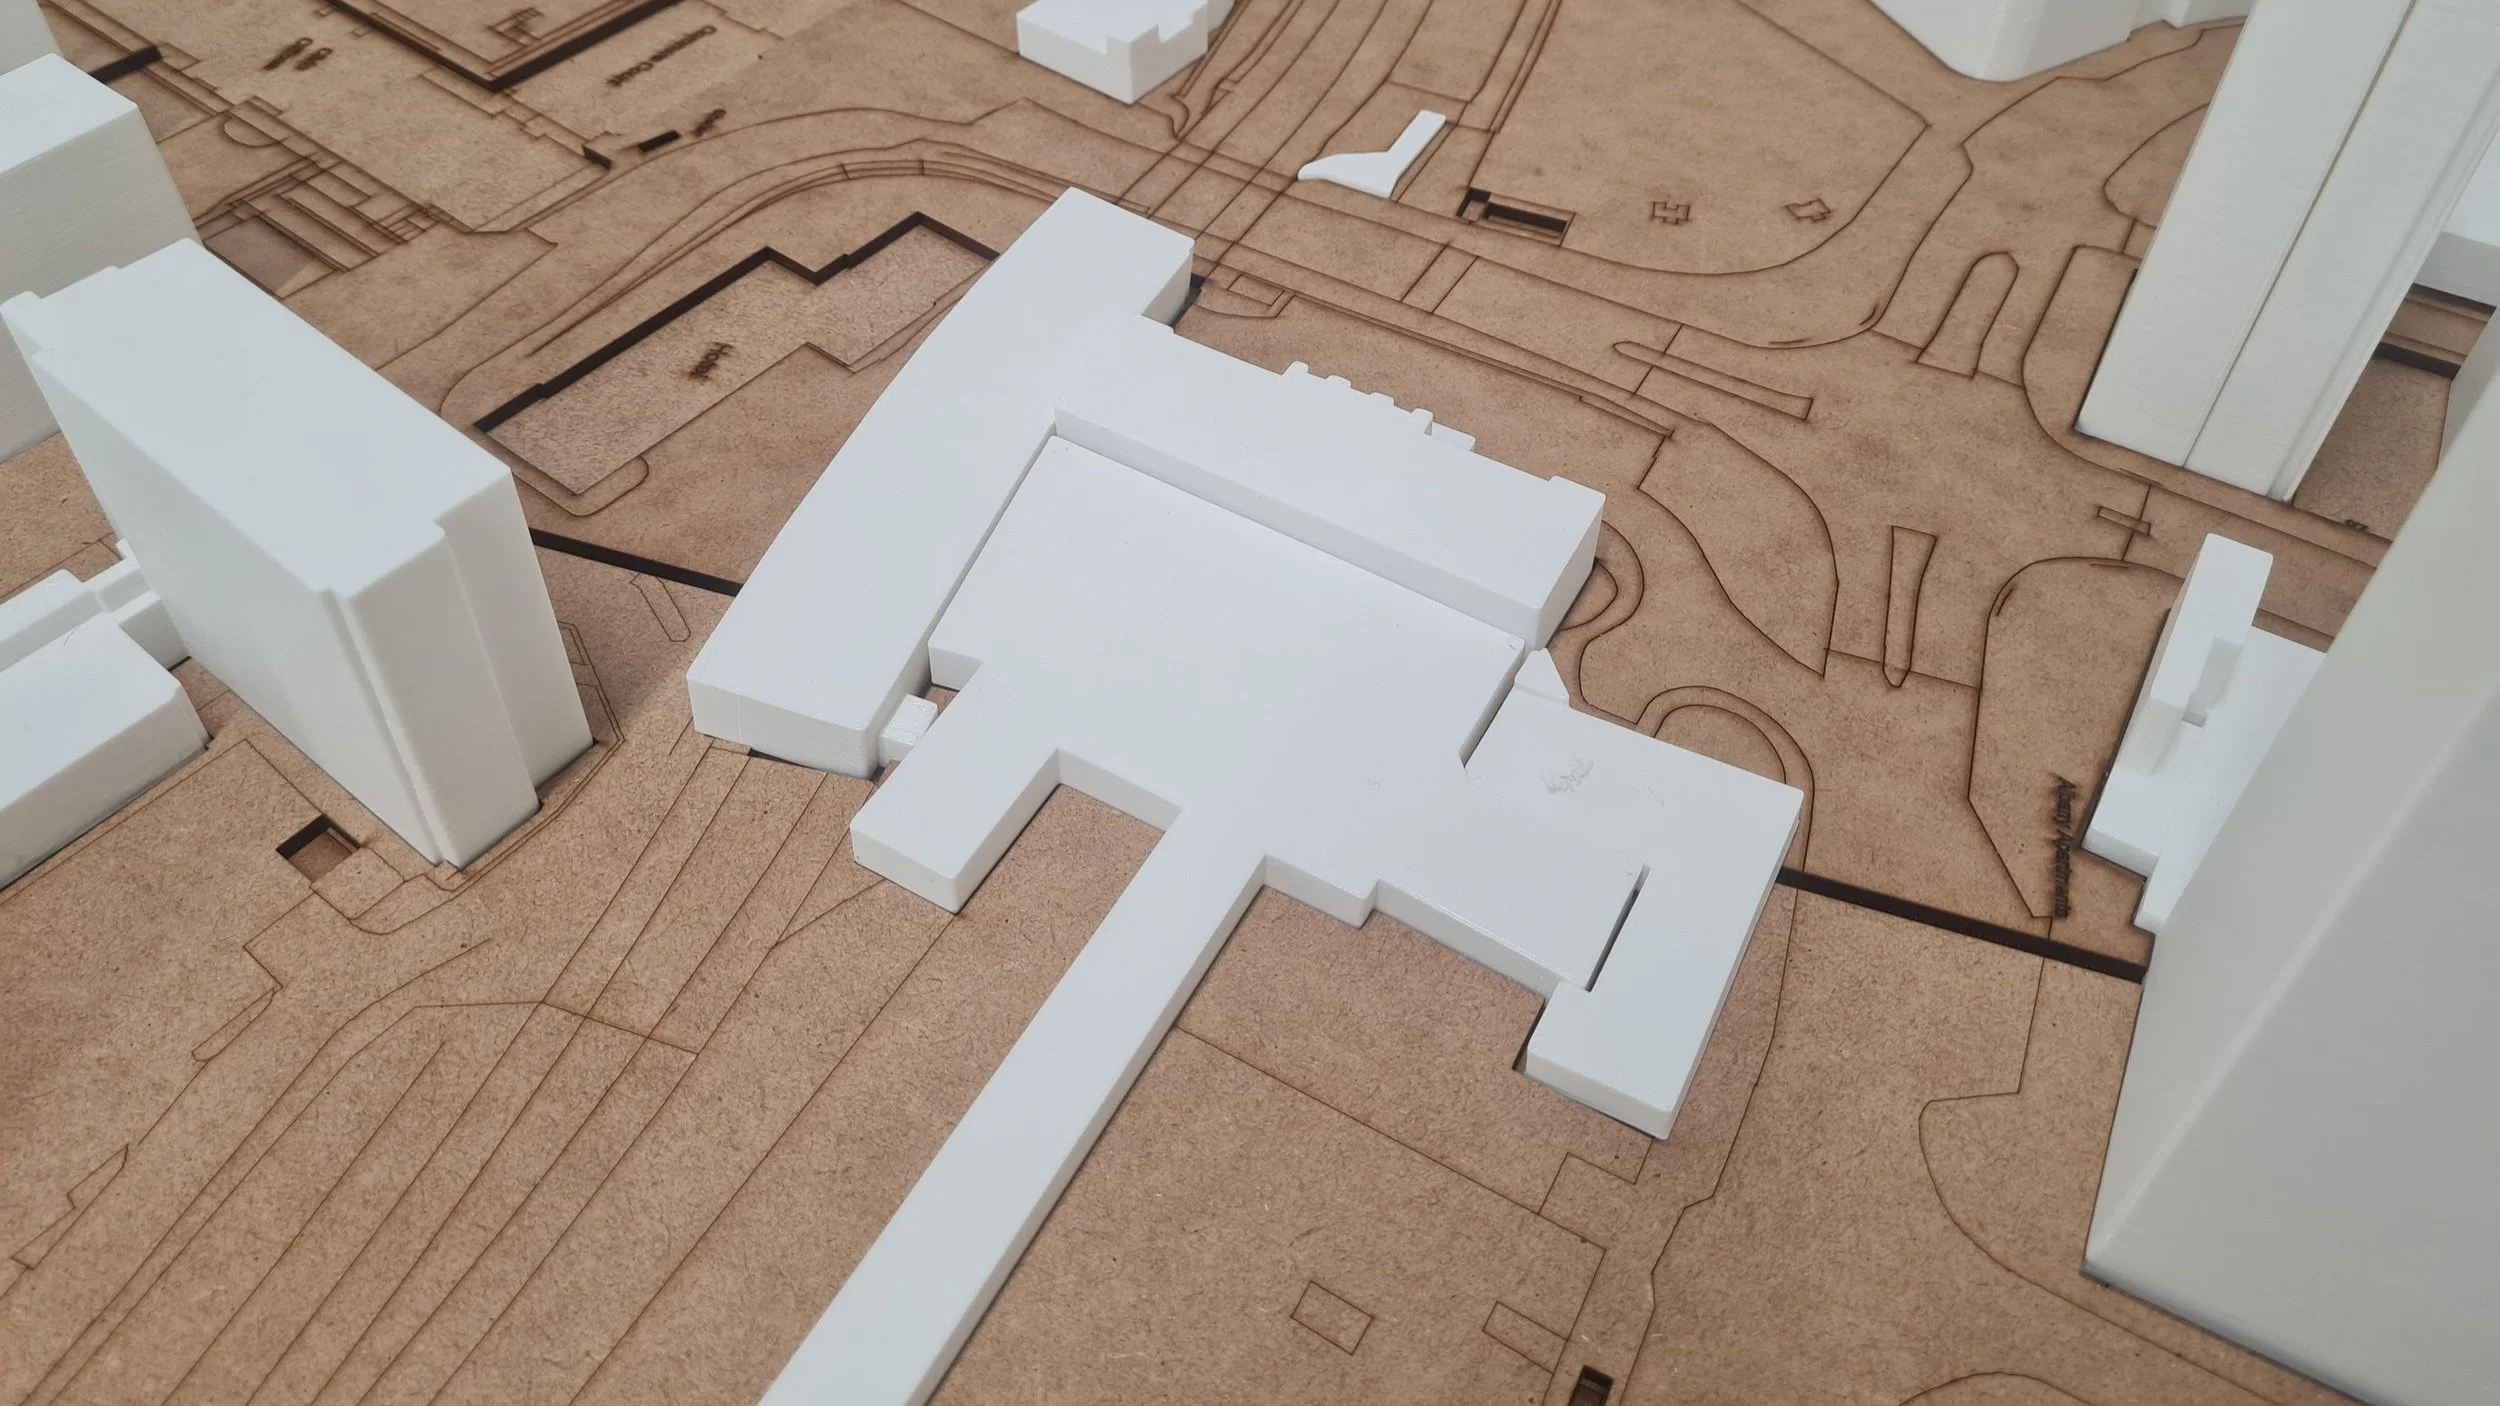
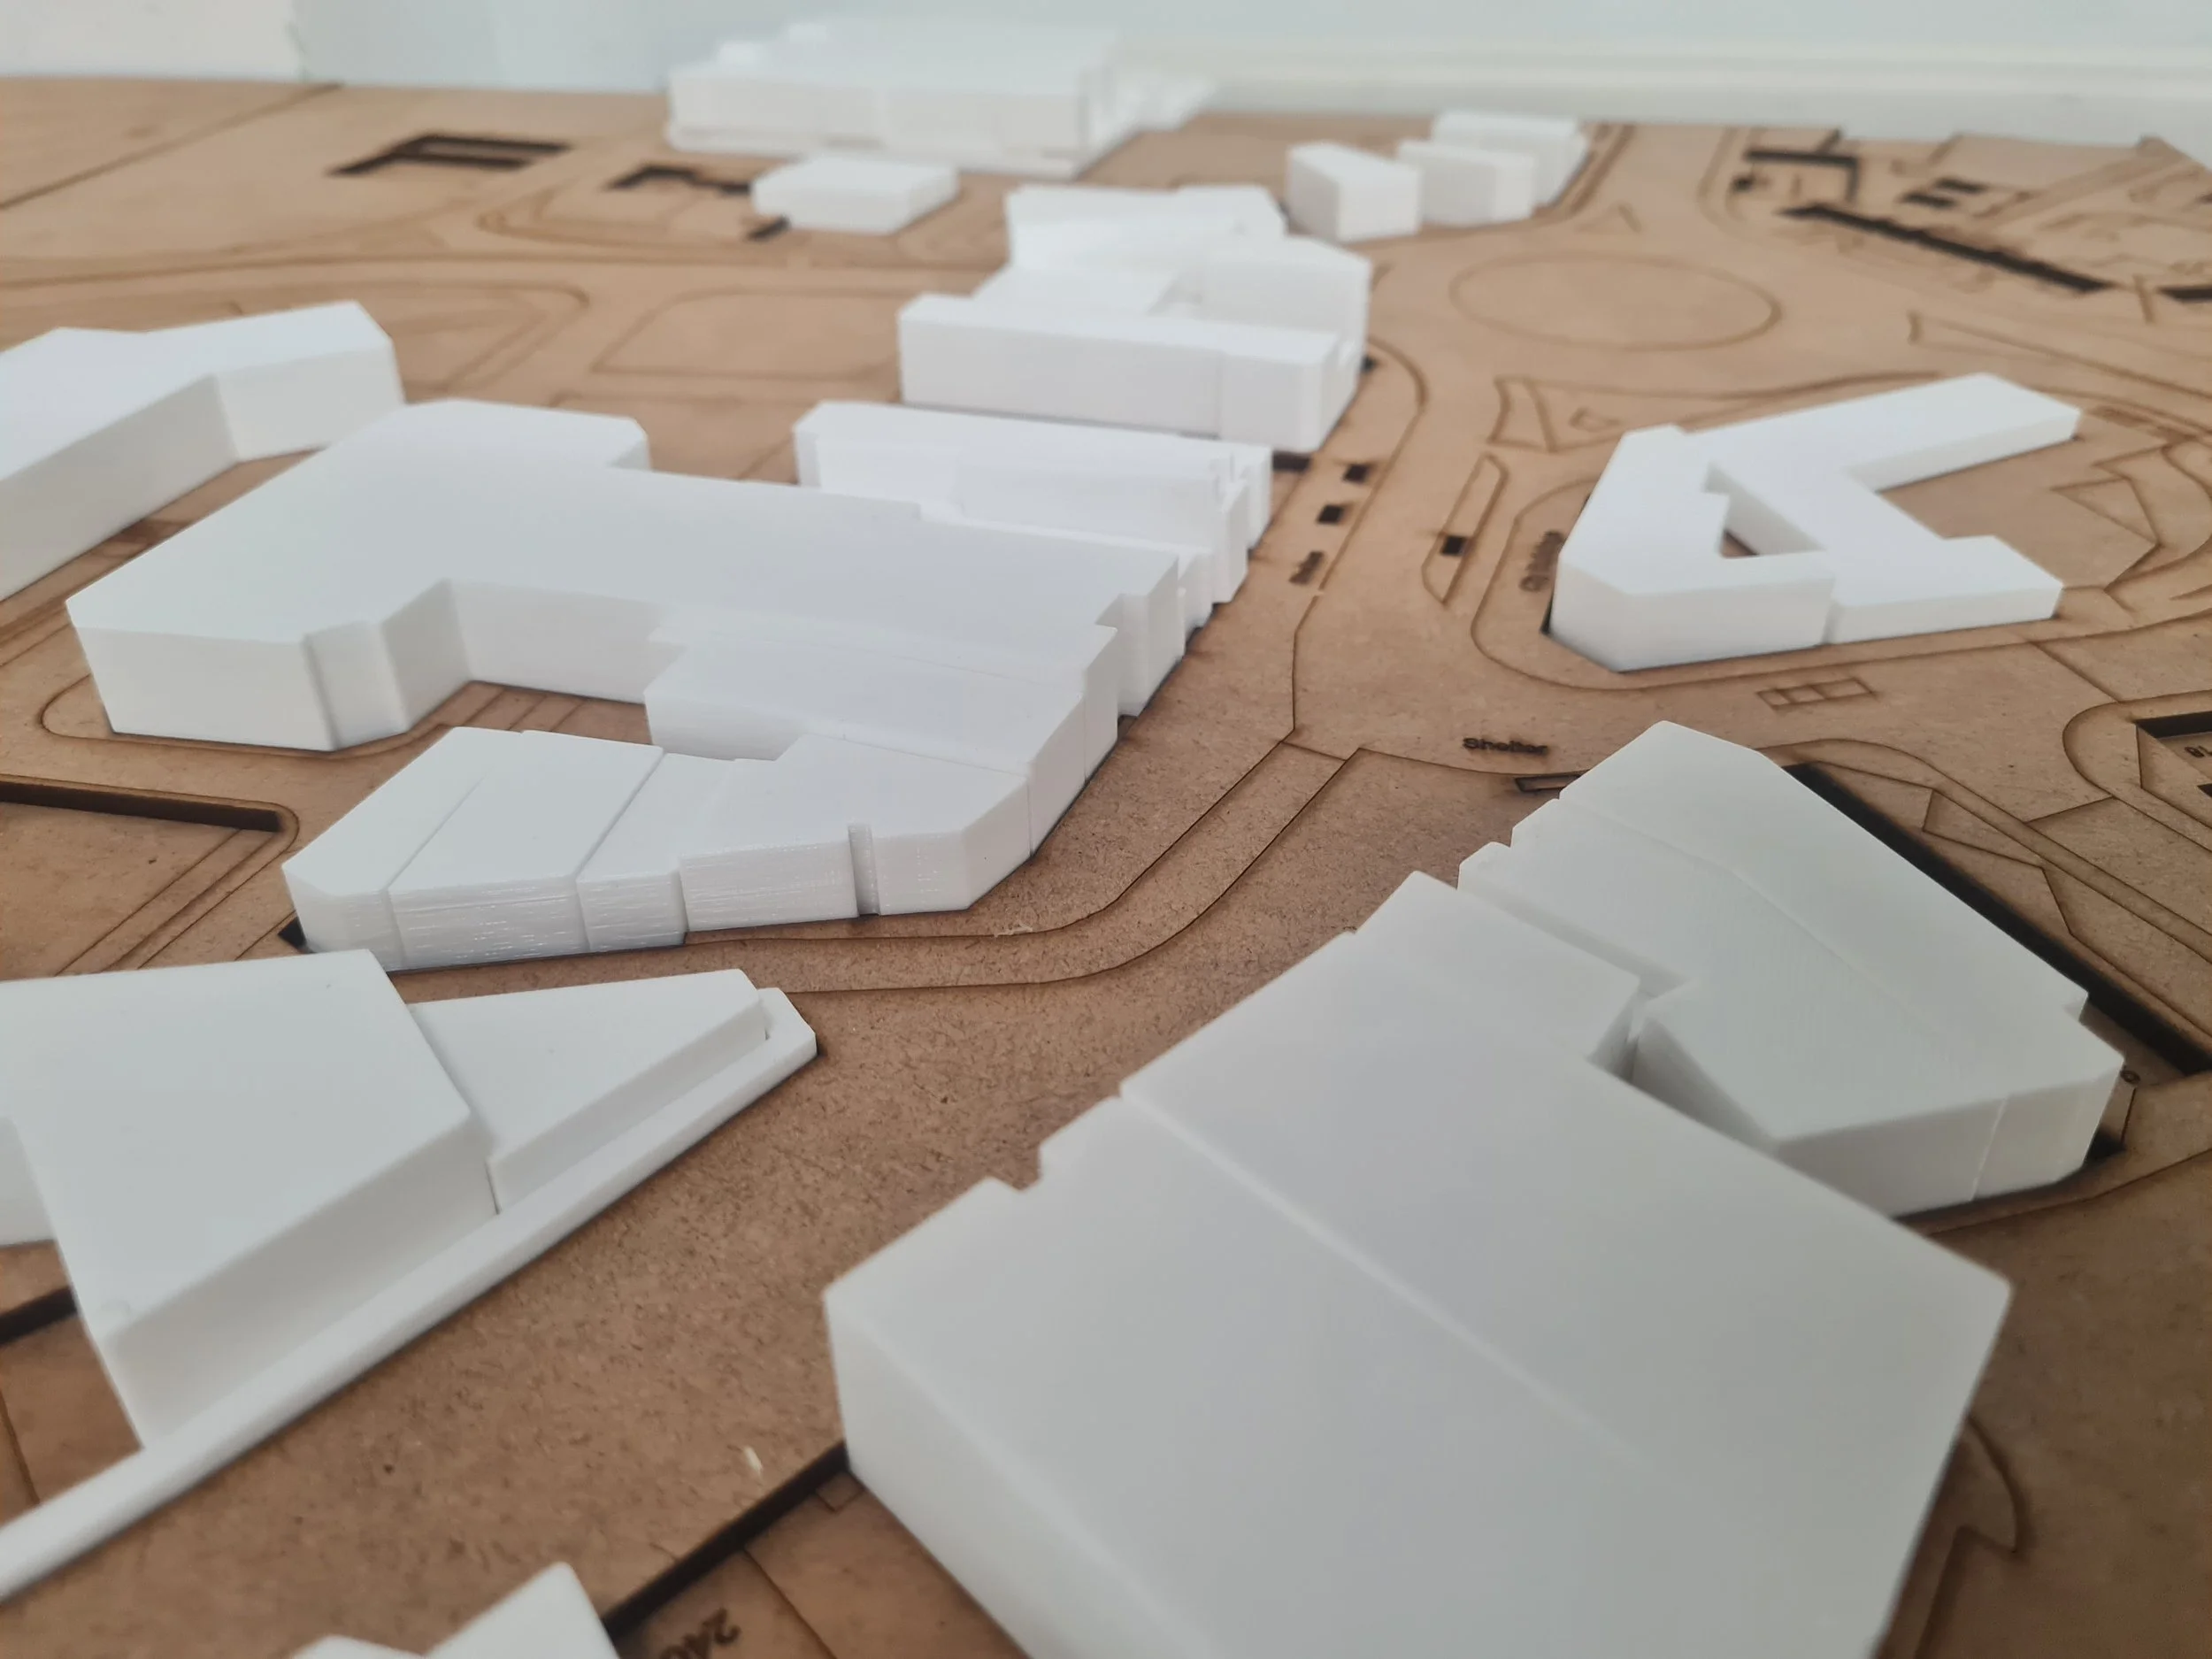
We began the process of creating our model by using data from Digimaps to laser cut a base model, the bottom layer would be etched with site details such as roads and building locations, and the second layer would be cut through to allow a place to hold our 3D buildings within their individual sites.


After the 3D Printing of the models, we began the (long) process of placing each model into its slot within the base.